
LEGO EV3 Kits
The Gigabots are wifi-enabled LEGO EV3 robots that run on the special Gigabot software. The unique design used in the Connected Lane Coder in Residence Program (operating in schools throughout Lane County, Oregon) is called the Jimmy-Kyle robot. This design was meant to be classroom-ready, use all the sensors and motors in a standard retail EV3 kit (LEGO MINDSTORMS EV3 31313), and be stable for use with elementary school students.
Note: If you are looking for curriculum for your EV3 kits, please see the Curriculum page.
I attempted to make some building instructions for the final robot (Jimmy-Kyle v5) using LEGO Digital Designer but it had several building issues that I later discovered, like:
- There were a few steps in the overall design that were actually impossible, like there was no way to put a piece into that slot with other pieces around it.
- There were some steps that were just downright confusing.
- It puts the brick on top of the model very early in the process, which makes it heavy to handle and also you accidentally hit the buttons a lot.
As a temporary measure, I broke the model into different pieces to make the builder create building instructions in a different way. To use these files, you will have to download and install LEGO Digital Designer (available for Mac or PC) and then download Jimmy-Kyle’s lxf files (which come in a ZIP file).
A few notes about the program:
- When you load the file into the program, go into the build instruction mode using the button at the top right.
- If you right-click and hold on the object, you can spin it around.
- The other buttons on the bottom allow you to zoom in/out and to recenter the object on the screen.
- The arrows at the very top, and the slider, will take you back and forth through the building process.
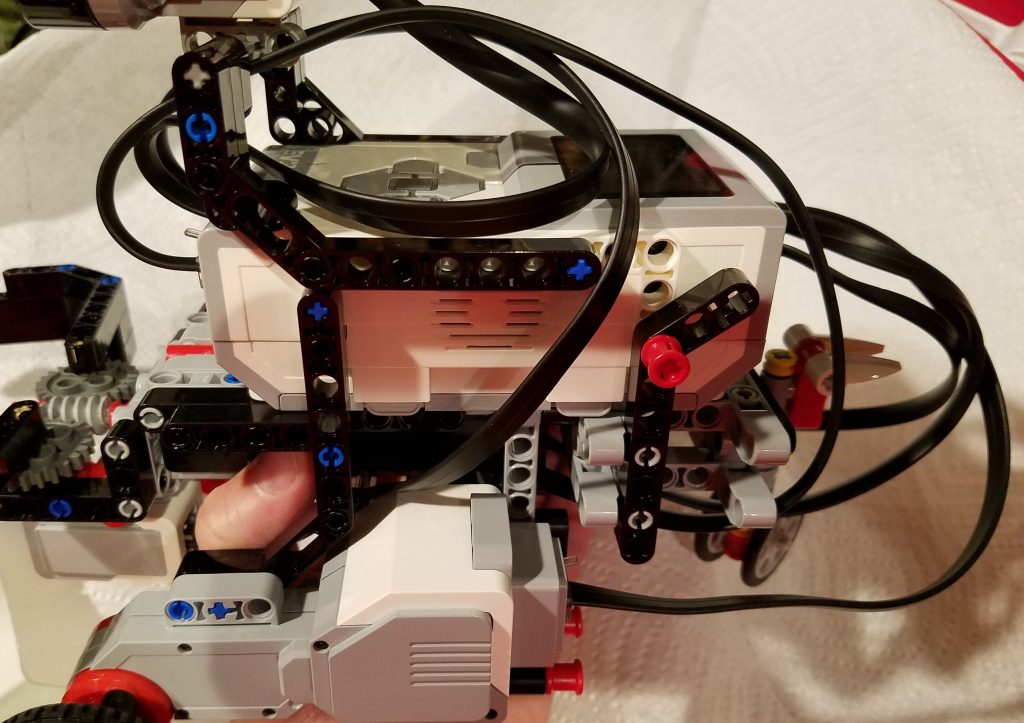
When you download the files, I would start with the chassis, and then work on the wheels/motors, and then put it all together including the top. I have included several detail files to better see each section of the bot. The entire Gigabot is symmetrical except for the one part that houses the color camera. Also, the cords are enabled in a way that you can add them after the entire bot is together, making building and transporting easier.
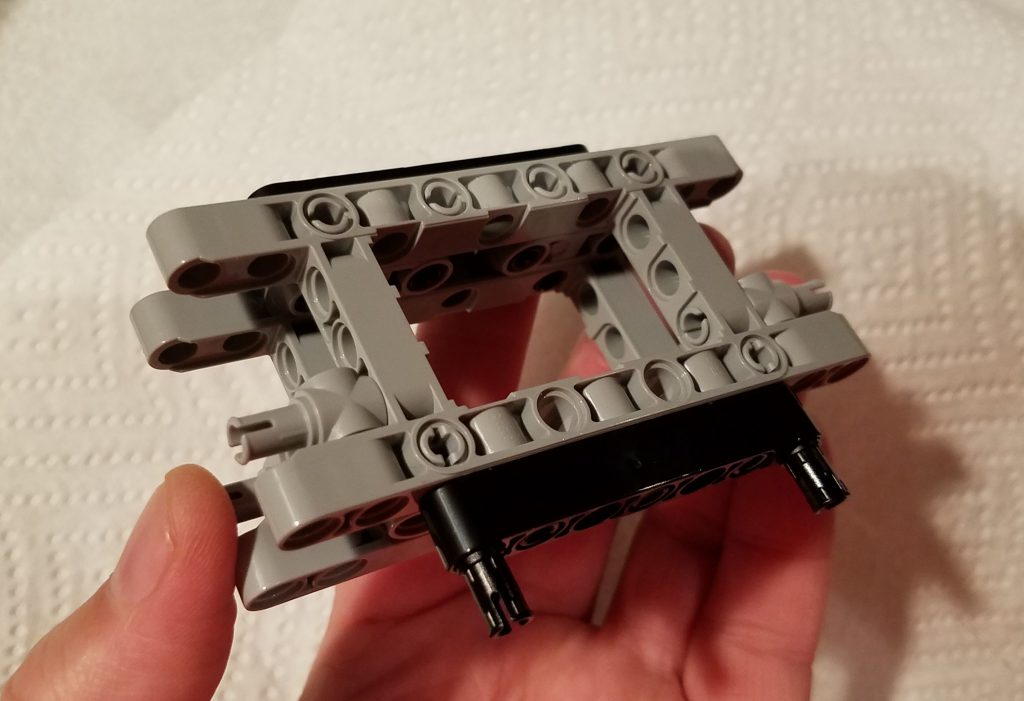
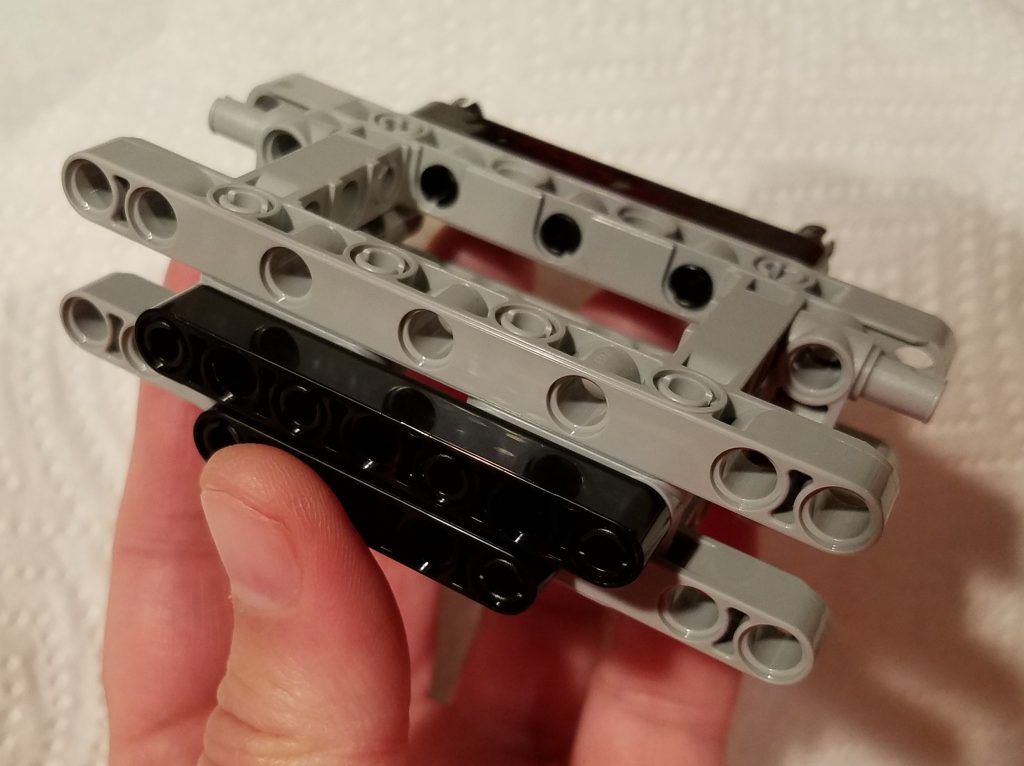
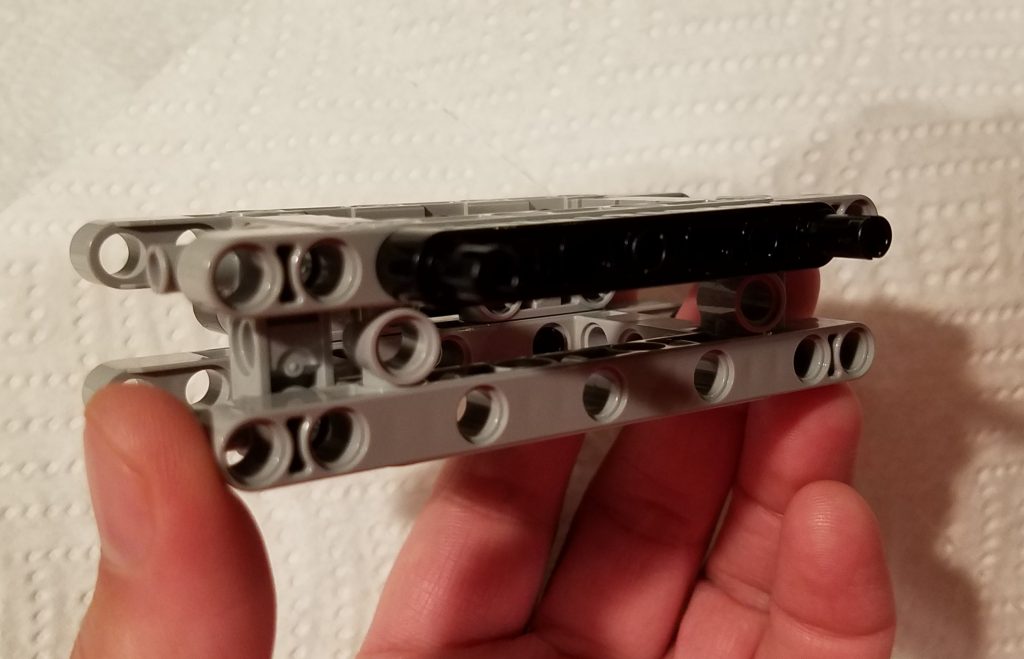
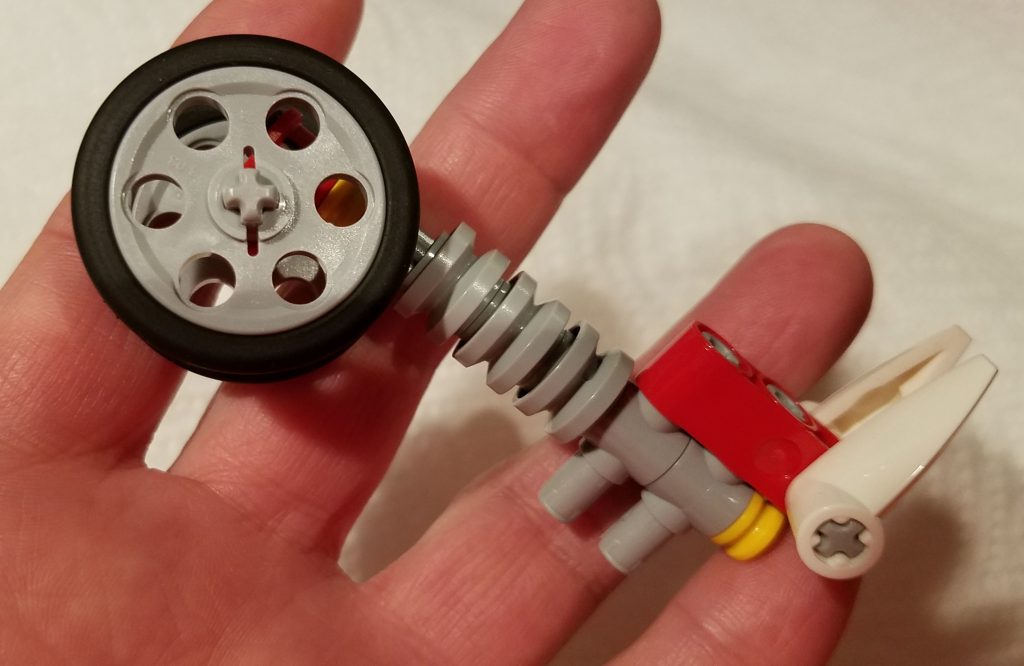
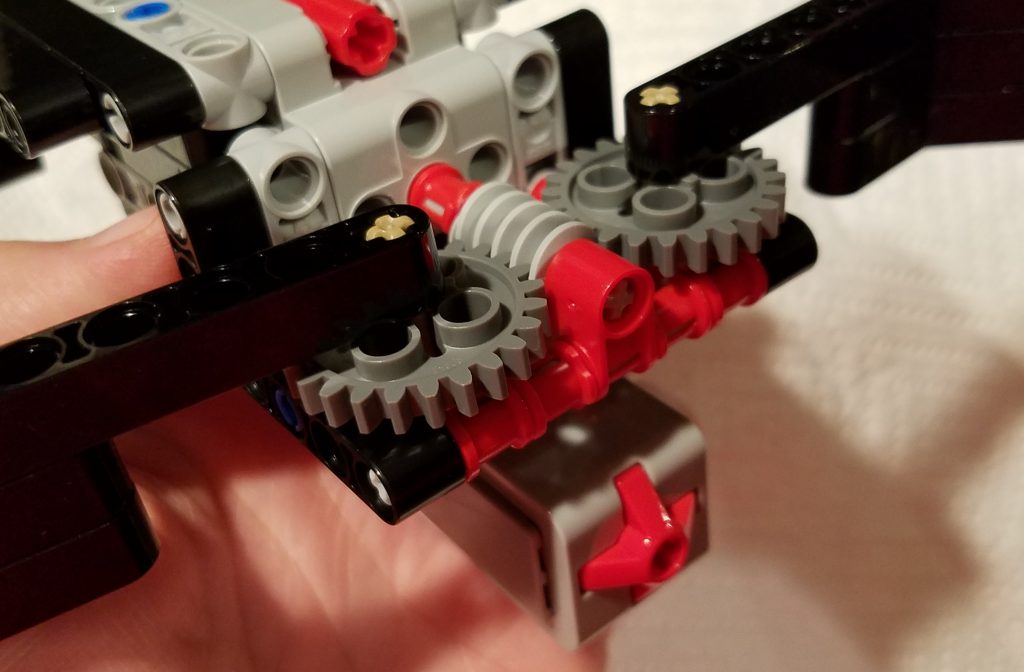
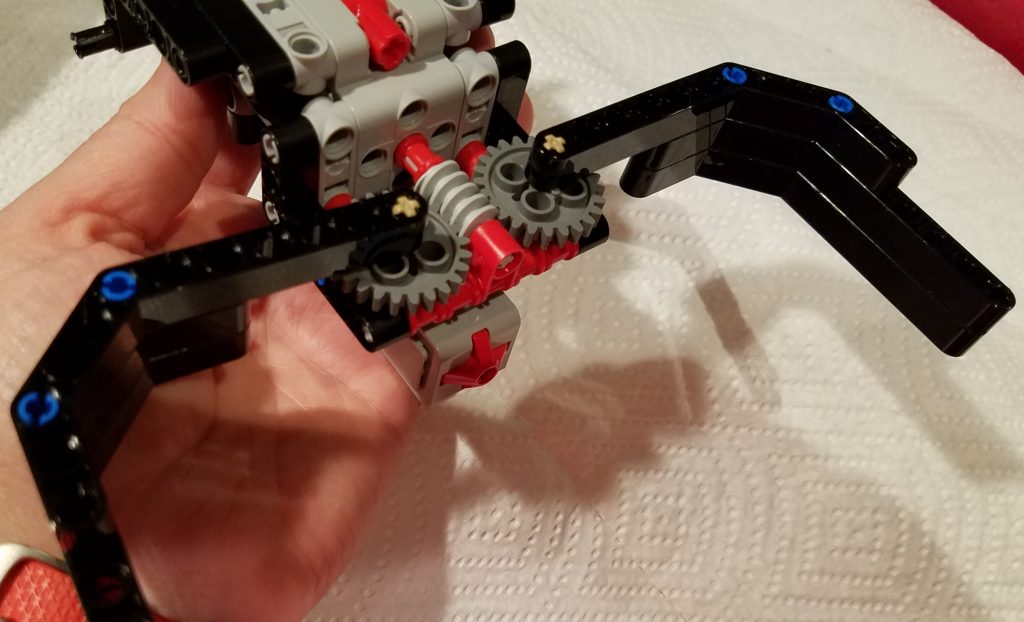
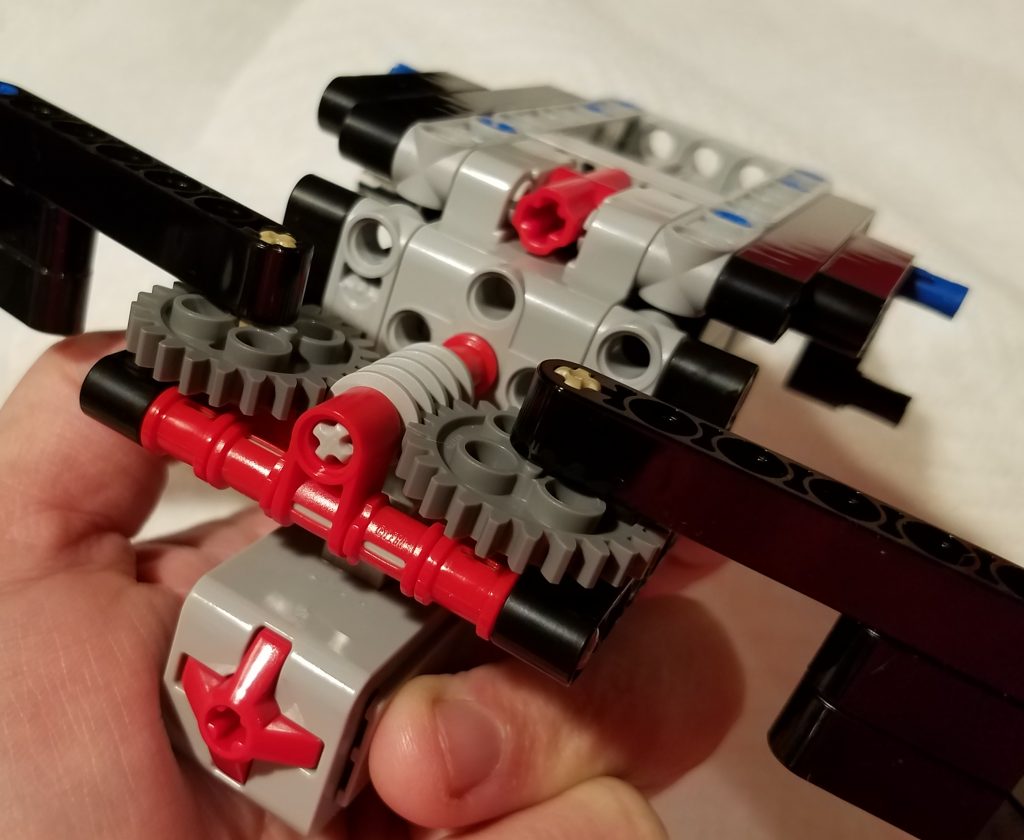
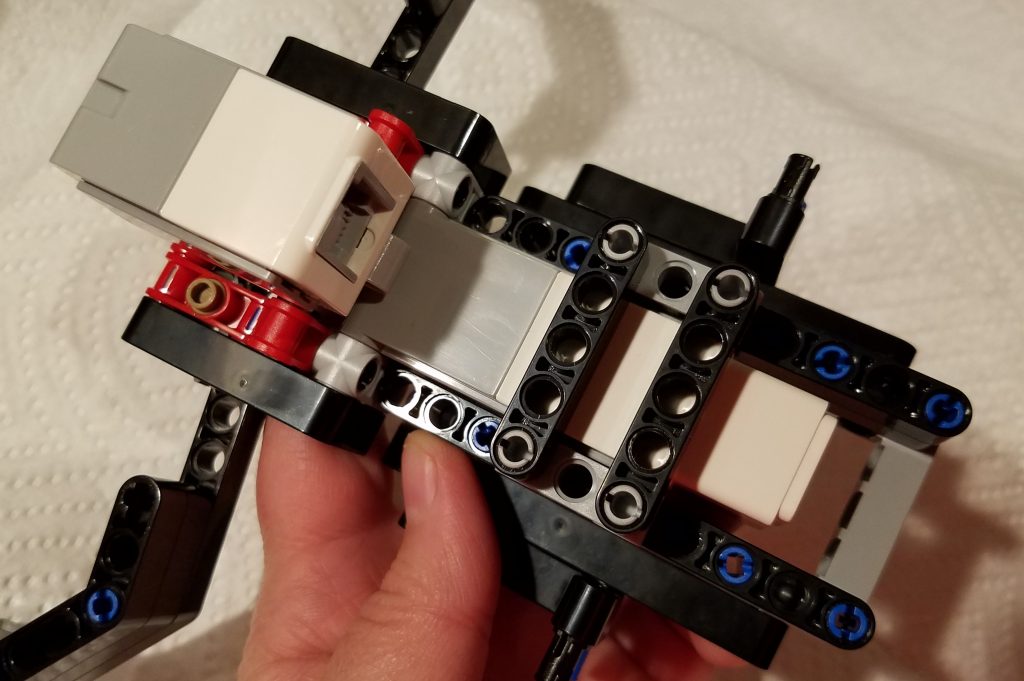
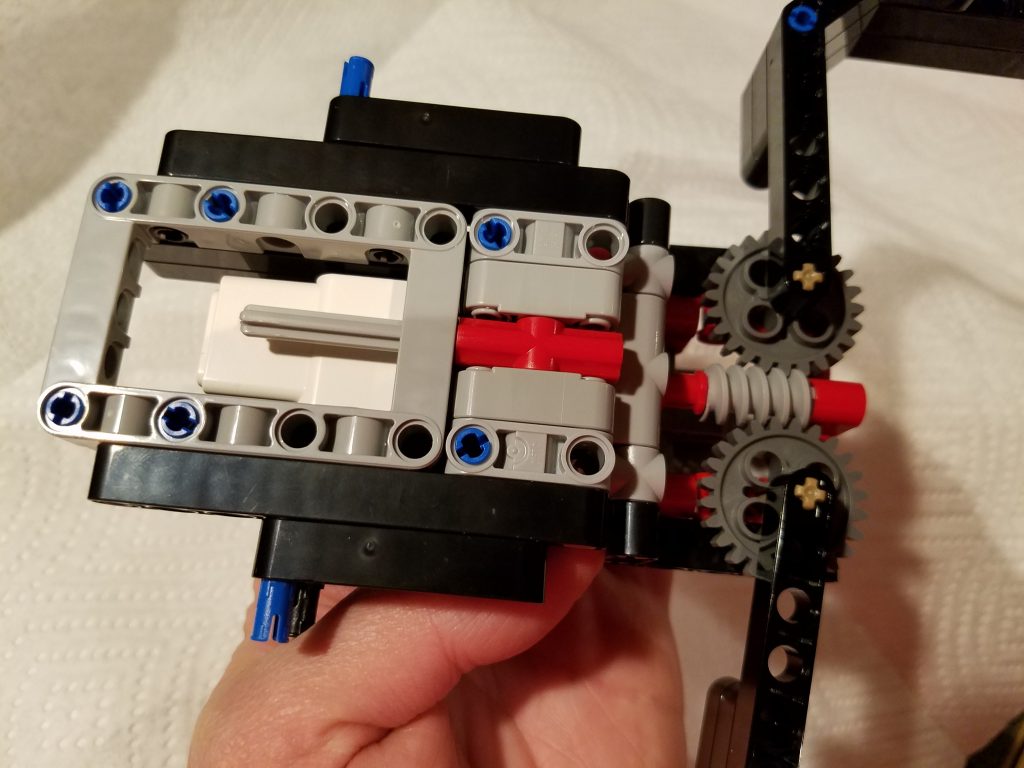
To clarify some confusing parts, I have also included some pictures below of various tricky parts that the LDD doesn’t do well with. I have included a wiring description below for the cords because it doesn’t show them well in LDD.
The wires are as follows:
- 10-inch wire connects right motor to rear port D (crosses with other drive motor wire)
- 10-inch wire connects left motor to rear port A (crosses with other drive motor wire)
- 10-inch wire connects small motor (grabber motor) to rear port C
- 10-inch wire connects IR sensor (eyes) to front port 2
- 14-inch wire connects touch sensor (on grabber) to front port 1
- 14-inch wire connects color sensor to front port 4
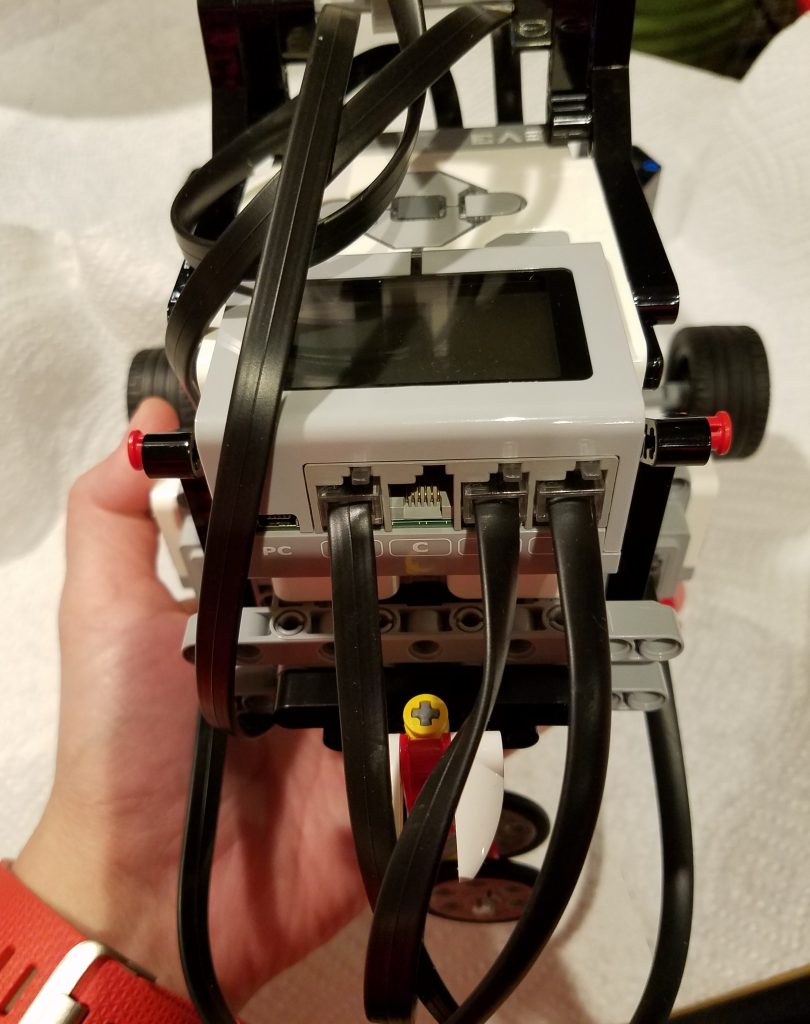
I would recommend threading the wires through in whatever way that makes sense and keeps them out of the way of other functions. We attached them in a way that the bot would open up like a clamshell to get at the batteries for easy recharging.